Looking up? How to photograph the moon with your phone
Eyes are on the sky this week as four astronauts get the closest humans have been to the moon for more than 50 years on NASA's Artemis II mission. Join the millions of people looking up while it's on its way and we'll show you how to get the best photo of the moon using your phone.
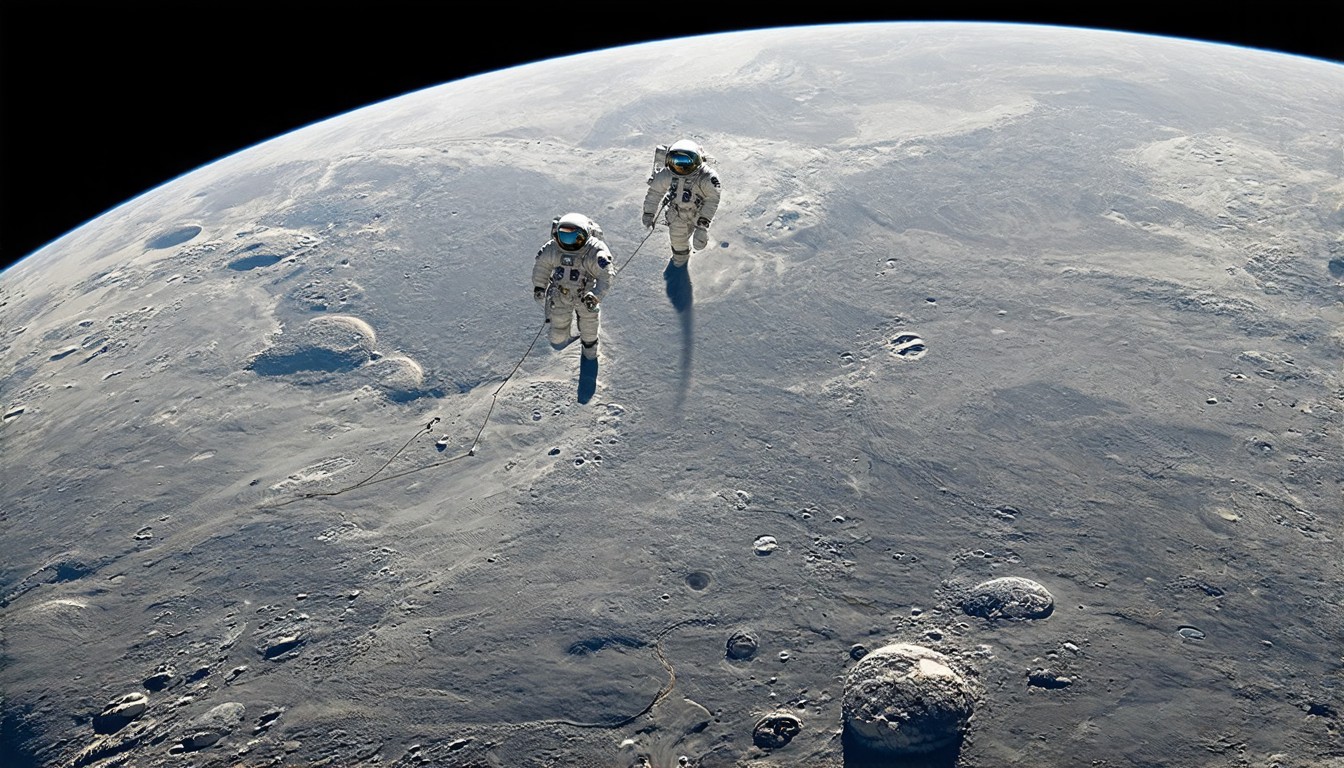
As the world watches with anticipation, NASA's Artemis II mission is carrying four astronauts on the closest journey to the moon in over half a century. This historic mission has sparked a renewed interest in the celestial body, inspiring millions of people to look up at the night sky. For those eager to capture the moon's beauty using their smartphones, we've compiled a guide to help you take stunning photos of our luminous neighbor.
To start, timing is key. The best opportunities to photograph the moon occur during its phases, particularly when it is full or nearly full. These phases provide the most dramatic contrast between the moon's bright surface and the dark sky, enhancing the visual impact of your images. Additionally, aim to capture the moon during its highest point in the sky, which typically occurs in the early evening or late morning. This positioning ensures optimal lighting and reduces the chances of atmospheric distortion.
Next, consider your location. Seek out open, unobstructed views of the sky to minimize interference from buildings, trees, or other obstacles. If possible, elevate your position, such as climbing a hill or using a rooftop, to gain a clearer vantage point. In urban areas, try to find a spot away from bright city lights, as these can wash out the moon's details and create unwanted glare.
Equipment-wise, your smartphone camera is more than capable of capturing stunning moon photos. Most modern devices come with advanced features like night mode, which automatically adjusts settings to optimize low-light photography. Enable the night mode or low-light setting on your camera app before starting. If your phone doesn't have this feature, try using manual settings to control exposure, ISO, and shutter speed. Experiment with these settings to find the perfect balance for your specific conditions.
Composition is also crucial. The rule of thirds is a helpful guideline for framing your shot. Imagine dividing your screen into nine equal parts with two horizontal lines and two vertical lines. Position the moon off-center, using one of the lines as a reference point. This placement creates a more visually appealing image and avoids the moon dominating the frame too heavily.
Incorporating foreground elements can add depth and context to your photos. Consider including silhouettes of trees, buildings, or other natural features that cast shadows on the moon. These elements not only enhance the composition but also provide a sense of scale, helping viewers appreciate the moon's size and proximity.
Post-processing can further enhance your moon photos. Apps like Snapseed or Lightroom offer tools for adjusting exposure, contrast, and color balance. Be cautious not to over-edit, as subtle enhancements often yield the most natural-looking results.
Finally, share your creations with others. Social media platforms are abuzz with moon photography enthusiasts eager to exchange tips and showcase their work. Tag your photos with relevant hashtags, such as #MoonPhotography or #ArtemisII, to reach a wider audience and connect with like-minded photographers.
As the Artemis II mission continues to captivate the world, seize this opportunity to explore the moon through your smartphone lens. With a little patience, creativity, and technical know-how, you can create images that not only document this historic moment but also inspire awe and wonder in those who view them.